How to Change Your Place of Birth on Official Documents
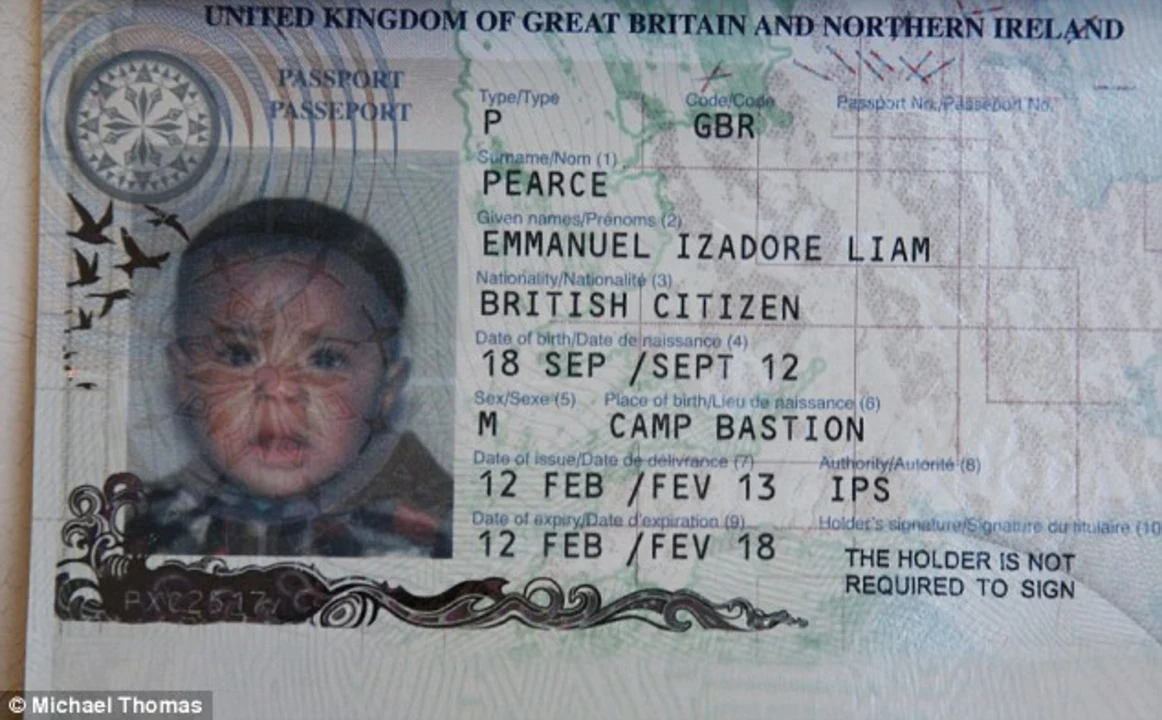
Ever noticed a typo in your birth place on a passport or driver’s license? It can feel like a tiny detail, but the wrong city or state can cause real headaches when you travel, apply for a job, or rent a home. The good news is that fixing it isn’t a nightmare. Below is a clear, no‑jargon guide that walks you through the whole process.
Why you might need to change your place of birth
People usually update their birth location for three main reasons. First, a simple clerical error – a misspelled city or a swapped district – can slip onto a birth certificate when it’s first issued. Second, you might have been born in a place that later changed its name or boundaries, and the old name no longer matches government records. Third, you could be applying for an overseas visa or a scholarship that double‑checks every line on your ID, and a mismatch can lead to rejection.
Regardless of why, the steps stay the same: gather proof, fill out the right forms, and submit them to the correct office. Skipping any part can delay the update, so it helps to follow the checklist closely.
Step‑by‑step guide to updating your records
1. Get the right proof of birth. You’ll need an original or certified copy of your birth certificate that shows the correct place. If the certificate itself is wrong, you’ll have to first get a corrected version from the local registrar where you were born. A hospital birth record, school admission form, or census document can serve as supplementary proof if the registrar asks for it.
2. Collect identity documents. Most agencies require a valid photo ID – a passport, driving licence, or Aadhar card. Bring the original and a clear photocopy. If you’re changing a passport, you’ll also need the old passport, even if it’s expired.
3. Fill out the application form. Look for the “Correction of Personal Details” form on the website of the issuing authority (passport office, RTO, etc.). The form asks for your current details, the exact change you want, and a brief reason. Keep the language factual; no need for extra explanations.
4. Pay the fee. Fees differ: a passport update costs around ₹1,500, while a driver’s licence change may be ₹200. Payments can usually be made online or at the counter. Keep the receipt – it’s your proof that the process has started.
5. Submit everything. Visit the nearest regional office or the online portal if available. Hand in the form, proof of birth, ID copies, and fee receipt. The officer will verify the documents, stamp the form, and give you a tracking number.
6. Follow up. Processing times vary. Passports can take 2‑3 weeks; shorter for a change in the address or name. Use the tracking number to check status online or call the helpline. If you’re asked for additional proof, respond quickly to avoid further delays.
7. Collect the updated document. Once approved, you’ll receive a new passport, licence, or updated birth certificate. Verify the corrected place of birth before leaving the counter. If anything looks off, flag it immediately.
That’s it – a straightforward path to getting your place of birth right. By keeping the right paperwork handy and following each step, you’ll save time, avoid repeated visits, and have confidence that your records match the facts.
Need a quick reminder? Keep this mini‑checklist on your phone: birth certificate, ID, application form, fee receipt, and tracking number. When you have them ready, the whole process becomes a simple box‑tick, and you can move on without worrying about a typo holding you back.

Is it easy to change the Place of Birth in my Indian Passport?
Changing the place of birth in an Indian passport can be quite a challenge. It involves submitting necessary documents and following a procedure to request the change. One must provide valid proof, such as a birth certificate, to support the change in information. This process can be time-consuming and may require multiple visits to the passport office. Overall, altering the place of birth in an Indian passport is not an easy task and requires patience and persistence.


