Indian Passport: Quick Guide to Applying, Renewing & Tracking
Got a travel plan or need a fresh passport for a new job? The Indian passport process can feel like a maze, but you don’t have to wander around blind. In the next few minutes we’ll break down everything you need – from the first application to renewal and even how to check the status without endless phone calls.
Applying for a New Indian Passport
First things first: gather the basics. You’ll need a completed Passport Application Form (e‑Passport), proof of address (utility bill, bank statement, or rent agreement), proof of date of birth (birth certificate or school certificate), and a set of passport‑size photos that meet the government’s specifications – 2x2 inches, white background, no glasses.
Next, head to the official Passport Seva website. Create an account, fill in your details, upload the scanned documents, and pay the fee online. The fee depends on whether you want a normal (36 pages) or jumbo (60 pages) passport and whether you choose normal or tatkal service. Normal service typically takes 30‑45 days, while tatkal can get you the passport in 1‑3 days for an extra charge.
After payment, you’ll receive an appointment slot at the nearest Passport Seva Kendra (PSK) or Regional Passport Office (RPO). Book a slot that fits your schedule – the system often offers early morning or late‑afternoon windows. On the day of the appointment, bring the original documents plus photocopies. The officer will verify everything, take your biometrics (fingerprints and photo), and hand you a receipt with a tracking number.
The receipt is your lifeline. With the tracking number, you can log back into the Passport Seva portal and see exactly where your application stands – under processing, under police verification, or ready for dispatch.
Renewing & Tracking Your Passport
Renewal is simpler if your old passport is still in good condition. The same online form works, but you’ll mark it as “Renewal” and attach a copy of the expired or expiring passport. If your passport is damaged, lost, or stolen, you’ll need an additional police report (Form 25) and, in the case of loss, a sworn affidavit.
Fees for renewal follow the same structure as new applications. Many people opt for the normal service because the processing time is usually short – often under 30 days. If you have an urgent travel plan, the tatkal option is still available for renewals.
Tracking the status is a breeze. Log into your Passport Seva account, click on “Track Application Status,” and enter the file number found on your receipt. The portal will show stages such as “Application Received,” “Verification in Progress,” and “Passport Printed.” You’ll also receive SMS updates if you provided a mobile number.
Once the passport is ready, you’ll get a notification to collect it from the PSK or to have it couriered to your address. If you choose courier, double‑check the address and keep an eye on the tracking link the courier service sends you.
Quick tip: always double‑check the spelling of your name, date of birth, and address before you submit the form. A small typo can cause a delay of weeks because the authorities will need to verify the correction.
That’s the whole cycle in a nutshell – apply, pay, schedule, verify, track, and collect. With the right documents and a little patience, getting your Indian passport is straightforward. Safe travels!

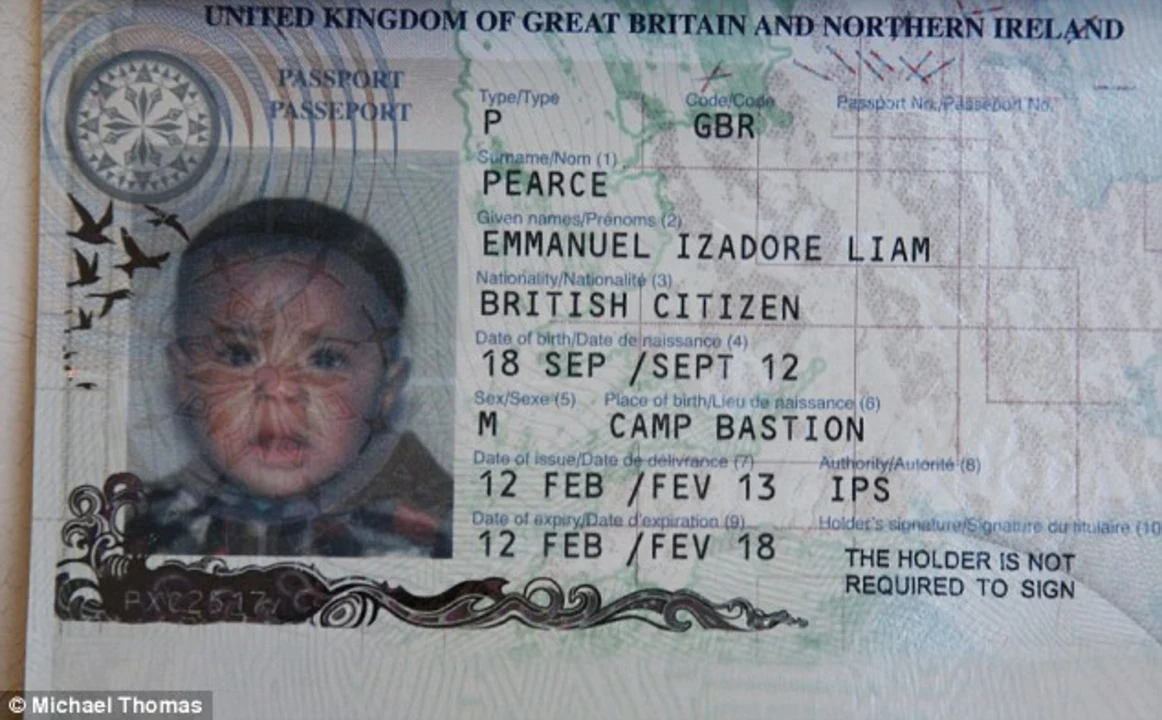
Is it easy to change the Place of Birth in my Indian Passport?
Changing the place of birth in an Indian passport can be quite a challenge. It involves submitting necessary documents and following a procedure to request the change. One must provide valid proof, such as a birth certificate, to support the change in information. This process can be time-consuming and may require multiple visits to the passport office. Overall, altering the place of birth in an Indian passport is not an easy task and requires patience and persistence.


